
| 일 | 월 | 화 | 수 | 목 | 금 | 토 |
|---|---|---|---|---|---|---|
| 1 | 2 | 3 | 4 | 5 | 6 | 7 |
| 8 | 9 | 10 | 11 | 12 | 13 | 14 |
| 15 | 16 | 17 | 18 | 19 | 20 | 21 |
| 22 | 23 | 24 | 25 | 26 | 27 | 28 |
- 1차원 DP
- 2차원 dp
- 99클럽
- @BeforeAll
- @BeforeEach
- @Builder
- @Entity
- @GeneratedValue
- @GenericGenerator
- @NoargsConstructor
- @Query
- @Table
- @Transactional
- Actions
- Amazon EFS
- amazon fsx
- Android Studio
- ANSI SQL
- api gateway 설계
- api gateway 필터
- ApplicationEvent
- argocd
- assertThat
- async/await
- AVG
- AWS
- aws autoscaling
- aws eks
- aws iam role
- AWS KMS
- Today
- Total
기록
[Swagger] Spring Boot 프로젝트에 Swagger 설정하기 본문
1. 들어가며
Swagger는 단순히 API를 시각화하는 도구가 아니라, 애플리케이션의 Controller와 DTO를 분석해 **자동으로 OpenAPI 문서(JSON)**를 생성한다. 이 글에서는 Spring Boot 3.x 기준으로 Swagger(OpenAPI)를 프로젝트에 적용하는 구체적인 방법을 다룬다.
2. springdoc-openapi 개요
Spring Boot 3에서는 springfox가 더 이상 권장되지 않는다.
대신 springdoc-openapi가 공식적으로 OpenAPI 3.x를 완전 지원하며, Spring MVC 및 WebFlux 양쪽 모두를 지원한다.
springdoc은 내부적으로 io.swagger.v3.oas.models.* 패키지를 사용해 OpenAPI 명세를 생성하며,
이 명세를 /v3/api-docs 경로로 제공하고 Swagger UI가 이를 렌더링한다.
공식 문서:
3. 의존성 추가
Gradle 기반 프로젝트라면 각 모듈별 기술 스택에 따라 다음 의존성을 추가한다. Spring Boot 버전별로 사용할수 있는 springdoc 이 다르므로, 확인이 필요하다. (Spring Boot 3.5.5 기준으로 springdoc 2.8.8 이 제대로 동작함을 확인하였다. )
(1) Spring MVC 기반 서비스(service-api)
implementation 'org.springdoc:springdoc-openapi-starter-webmvc-ui:2.8.8'(2) Spring WebFlux 기반 서비스(service-meeting-query)
implementation 'org.springdoc:springdoc-openapi-starter-webflux-ui:2.8.13'
두 스타터 모두 Swagger UI와 OpenAPI JSON 생성을 포함하며,
별도 설정이 없어도 /v3/api-docs와 /swagger-ui/index.html이 자동 등록된다.
4. application.yml 설정
Swagger UI의 기본 경로를 명시하고, 문서 자동 로드를 비활성화해 프로젝트 전용 경로로 고정한다.
springdoc:
  api-docs:
    path: /v3/api-docs
  swagger-ui:
    path: /swagger-ui.html
    disable-swagger-default-url: true
    operations-sorter: alpha
    tags-sorter: alpha
| 설정 | 항목 |
| api-docs.path | OpenAPI JSON 문서의 노출 URL |
| swagger-ui.path | Swagger UI 접근 경로 (index.html 리다이렉트 포함) |
| disable-swagger-default-url | 기본 문서 자동 로드 방지 |
| operations-sorter, tags-sorter | API 및 태그 알파벳순 정렬 |
이 설정만으로 /swagger-ui.html에 접속하면 자동으로 Swagger UI가 로드된다.
5. OpenAPI 기본 정보 및 서버 설정
Swagger 문서의 상단에는 서비스 정보(title, version, description)와 서버 URL이 표시된다. 이는 @OpenAPIDefinition을 통해 설정한다.
@Configuration
@OpenAPIDefinition(
        info = @Info(
                title = "Service API",
                version = "v1",
                description = "서비스의 REST API 명세"
        ),
        servers = {
                @Server(url = "/", description = "기본 서버 환경")
        }
)
public class OpenApiConfig {}
이 설정은 Swagger UI의 상단 정보 영역과 /v3/api-docs 내의 info, servers 섹션으로 반영된다.

6. Controller 문서 자동 인식
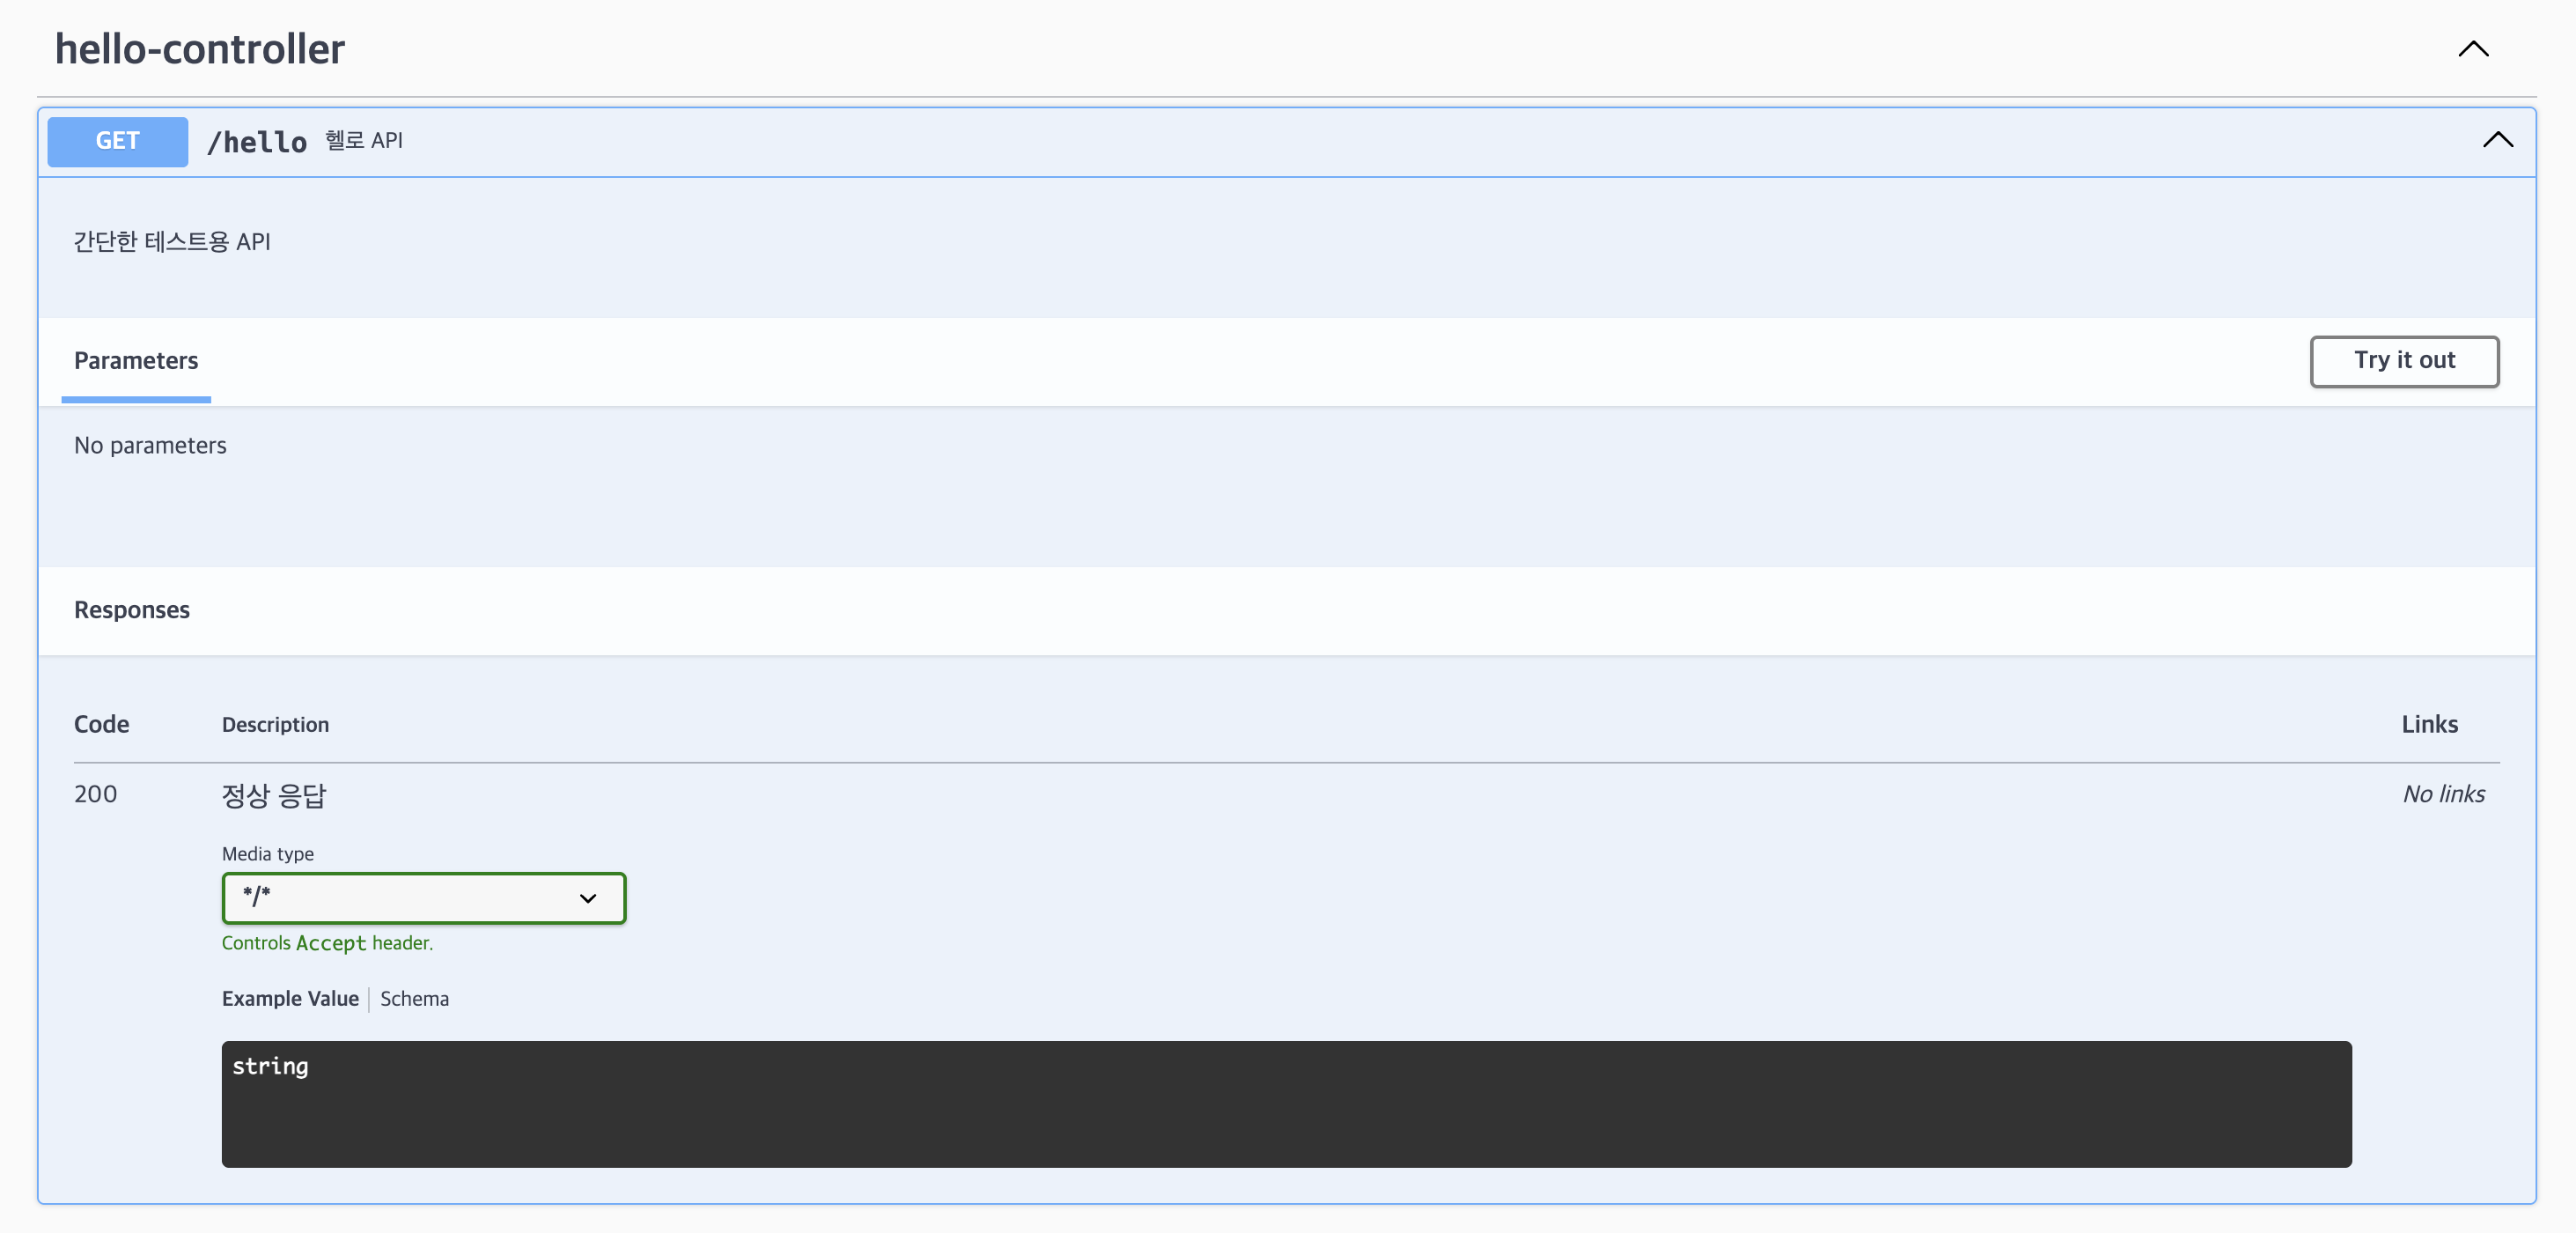
Swagger는 Spring MVC Controller의 기본 어노테이션(@RestController, @RequestMapping, @Operation)을 자동 분석하여 API를 표시한다.
import io.swagger.v3.oas.annotations.Operation;
import io.swagger.v3.oas.annotations.responses.ApiResponse;
import org.springframework.web.bind.annotation.GetMapping;
import org.springframework.web.bind.annotation.RestController;

@RestController
public class HelloController {

    @Operation(summary = "헬로 API", description = "간단한 테스트용 API")
    @ApiResponse(responseCode = "200", description = "정상 응답")
    @GetMapping("/hello")
    public String hello() {
        return "Hello Swagger!";
    }
}
이후 서버를 실행하면 다음 URL로 접근 가능하다.
- http://localhost:8080/swagger-ui.html
'Web > Spring' 카테고리의 다른 글
| [Swagger] Swagger에서 JWT 인증 처리하기 (0) | 2025.10.26 |
|---|---|
| [Swagger] annotation 정리 (0) | 2025.10.26 |
| Spring Boot 멀티모듈 프로젝트 빌드 실패 - 루트 프로젝트의 bootJar 설정 누락 (0) | 2025.07.06 |
| Spring 프로필, Gradle, JVM 옵션: -Dspring.profiles.active (0) | 2025.04.26 |
| 멀티 모듈 기반 영화 예매 서비스 설계기 : 테이블 및 엔티티 설계(1) - ERD 모델링 (0) | 2025.04.07 |